Welcome to our comprehensive guide on drying and curing cannabis! Whether you are a seasoned cannabis enthusiast or a beginner looking to cultivate your own stash, understanding the importance of proper drying and curing techniques is essential for achieving the highest quality end product. In this blog post, we will delve into the intricacies of drying and curing cannabis, exploring why these processes are crucial for enhancing potency, flavor, and overall quality. We will also provide you with step-by-step instructions, essential tools, and common mistakes to avoid during the drying and curing process. Additionally, we will discuss the correct storage conditions and offer tips for maintaining the long-term quality of your cannabis supply. So, grab your notebook and get ready to become a drying and curing expert!
Understanding the Importance of Drying and Curing Cannabis
Drying and curing cannabis are two critical processes that significantly impact the final quality, potency, and flavor of your harvested buds. Understanding the importance of these steps will help you appreciate why they should never be overlooked in your cannabis cultivation journey.
Why Drying is Crucial for Cannabis Quality
Drying is the process of removing moisture from freshly harvested cannabis buds. This step is crucial because it initiates the breakdown of chlorophyll, which can have a harsh and unpleasant taste if not properly addressed. Proper drying also helps to preserve the potency of the cannabinoids and terpenes present in the plant, ensuring a more enjoyable and effective experience when consuming the end product.
Ideal Conditions for Drying Cannabis
To achieve optimal results during the drying process, it is essential to create a controlled environment with specific conditions. The ideal conditions for drying cannabis include:
- Temperature: Maintain a temperature range between 60°F to 70°F (15°C to 21°C). This range promotes a slow and gradual drying process, allowing the buds to cure properly.
- Humidity: Aim for a humidity level of around 45% to 55% during the initial drying stage. This helps to prevent mold and mildew growth while ensuring the buds dry at an appropriate rate.
- Air Circulation: Good air circulation is vital to prevent the growth of mold and mildew. Ensure that there is adequate airflow in the drying area by using fans or other ventilation methods.
The Drying Process: Step-by-Step Guide
Now let’s walk you through the step-by-step process of drying your cannabis:
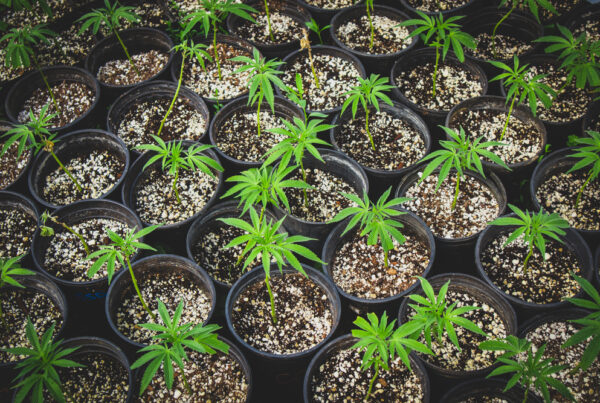
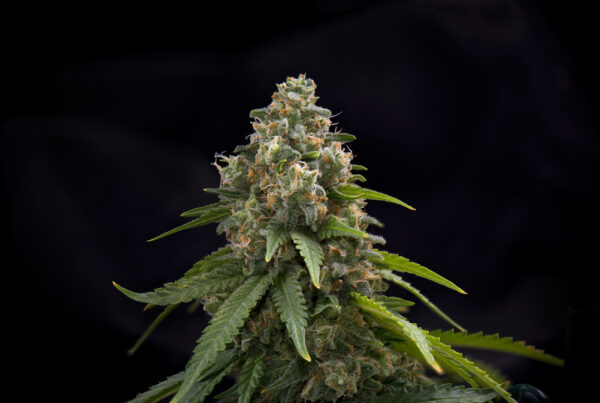
- Harvesting: Begin by harvesting the cannabis plants at the optimal time, usually when the trichomes are milky white or slightly amber in color.
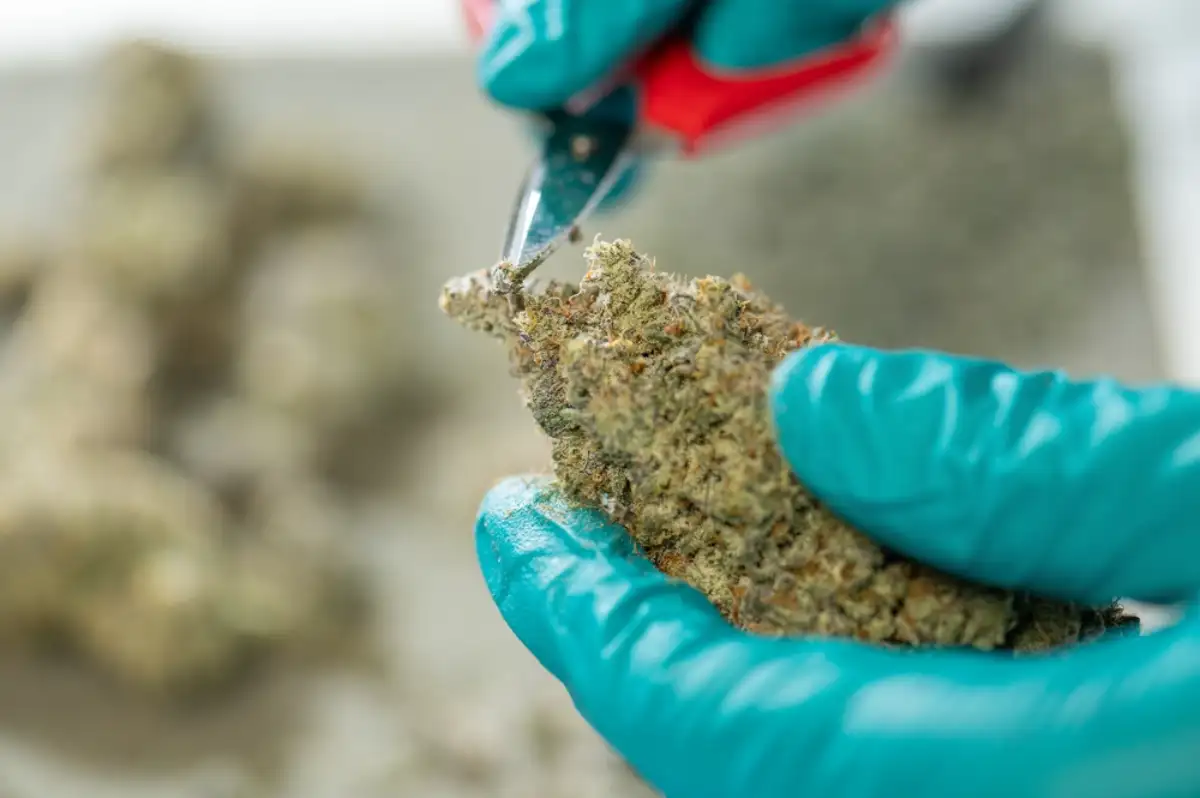
- Trimming: Trim away any excess leaves from the buds, as they can slow down the drying process and potentially harbor mold or pests.
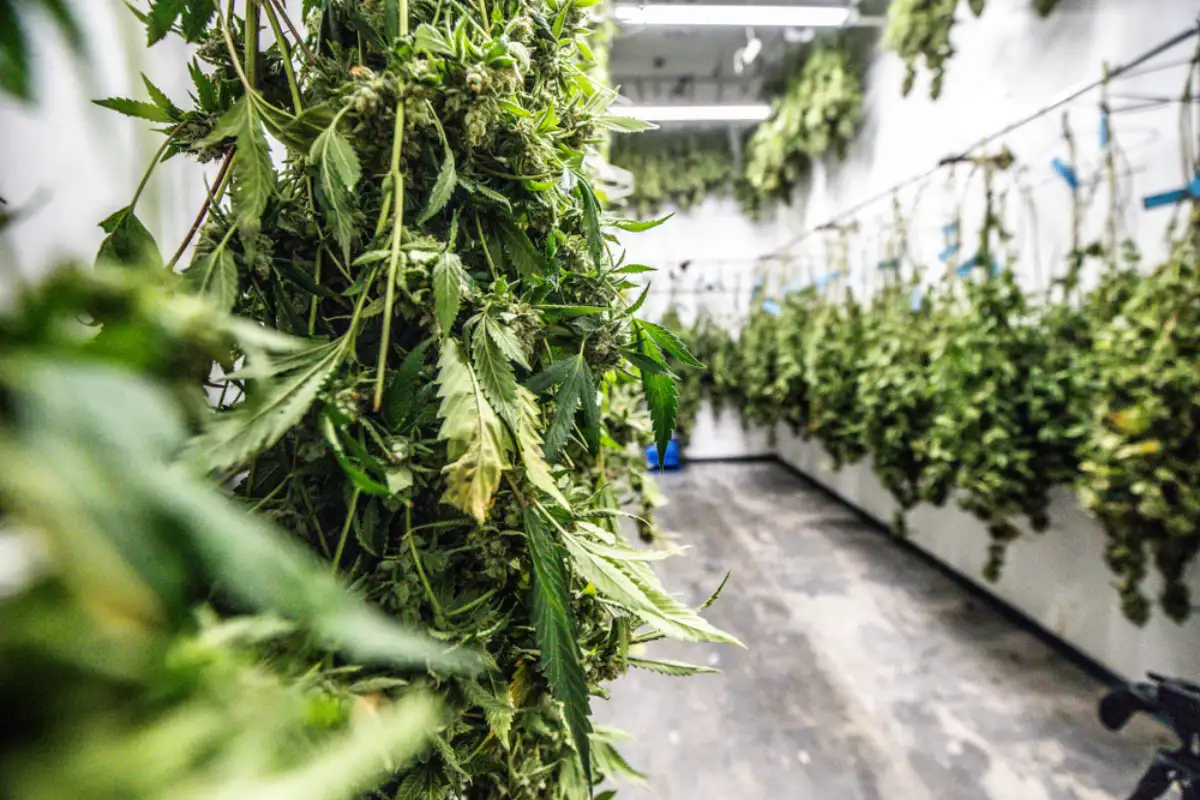
- Hang to Dry: Hang the trimmed buds upside down in a dark and well-ventilated space, such as a dedicated drying room or a designated area in your home.
- Monitor Temperature and Humidity: Regularly check the temperature and humidity levels in the drying area to ensure they remain within the recommended range.
- Patience is Key: Allow the buds to dry slowly over a period of 7 to 14 days. During this time, you should notice the stems becoming dry and the smaller branches snapping when bent.
- Test for Dryness: To determine if the buds are adequately dried, perform the “snap test.” If the smaller stems snap instead of bending, it is a good indication that your cannabis is ready for the next stage of the curing process.
By understanding the importance of drying cannabis and following the proper steps, you are setting the foundation for a successful curing process that will further enhance the quality of your buds. So, let’s dive into the next section and explore the art of curing cannabis correctly.
How to Properly Dry Cannabis
Drying cannabis properly is a crucial step in the cultivation process to ensure the best possible quality and experience when consuming your harvested buds. In this section, we will delve into the various aspects of drying cannabis and provide you with all the necessary information to achieve optimal results.
Why Drying is Crucial for Cannabis Quality
Before we delve into the process of drying cannabis, let’s understand why it is such a critical step for achieving high-quality buds. When cannabis is harvested, it contains a significant amount of moisture, which needs to be removed to prevent the growth of mold and mildew. Additionally, proper drying helps to break down chlorophyll, which can result in a harsh and unpleasant taste if not adequately addressed. By drying your cannabis correctly, you can preserve the potency of the cannabinoids and terpenes, resulting in a more potent and flavorful end product.
Ideal Conditions for Drying Cannabis
To ensure the best possible drying process, it is essential to create an environment that provides the ideal conditions for moisture evaporation while minimizing the risk of mold or other issues. Here are the key factors to consider:
- Temperature: Maintain a temperature range between 60°F to 70°F (15°C to 21°C). This range promotes a slow and gradual drying process, allowing the buds to cure properly.
- Humidity: Aim for a humidity level of around 45% to 55% during the initial drying stage. This helps to prevent mold and mildew growth while ensuring the buds dry at an appropriate rate.
- Air Circulation: Good air circulation is vital to prevent the growth of mold and mildew. Ensure that there is adequate airflow in the drying area by using fans or other ventilation methods.
The Drying Process: Step-by-Step Guide
Now let’s walk you through the step-by-step process of drying cannabis:
- Harvesting: Begin by harvesting the cannabis plants at the optimal time, usually when the trichomes are milky white or slightly amber in color.
- Trimming: Trim away any excess leaves from the buds, as they can slow down the drying process and potentially harbor mold or pests.
- Hang to Dry: Hang the trimmed buds upside down in a dark and well-ventilated space, such as a dedicated drying room or a designated area in your home. Ensure that the buds are spaced apart to allow for proper airflow.
- Monitor Temperature and Humidity: Regularly check the temperature and humidity levels in the drying area to ensure they remain within the recommended range. Use a hygrometer to accurately measure humidity.
- Patience is Key: Allow the buds to dry slowly over a period of 7 to 14 days. During this time, you should notice the stems becoming dry and the smaller branches snapping when bent.
- Test for Dryness: To determine if the buds are adequately dried, perform the “snap test.” If the smaller stems snap instead of bending, it is a good indication that your cannabis is ready for the next stage of the curing process.
By following these steps and ensuring the ideal drying conditions, you are setting the stage for a successful curing process that will further enhance the quality of your cannabis. In the next section, we will explore the art of curing cannabis correctly, so let’s dive in!
How to Cure Cannabis Correctly
Curing cannabis is a crucial step that follows the drying process and plays a significant role in maximizing the potency, flavor, and overall quality of your harvested buds. In this section, we will guide you through the process of curing cannabis correctly, ensuring that you achieve the best possible results.
The Importance of Curing for Enhanced Potency and Flavor
Curing is the process of allowing dried cannabis buds to age in a controlled environment. This step is essential because it helps to further break down chlorophyll, improve the overall taste, and enhance the potency and effects of the cannabinoids present in the plant. Properly cured cannabis is smoother to smoke, has a more pleasant aroma, and delivers a more potent and enjoyable experience.
Essential Tools for Curing Cannabis
Before we dive into the steps of the curing process, let’s discuss some essential tools you will need to ensure a successful cure:
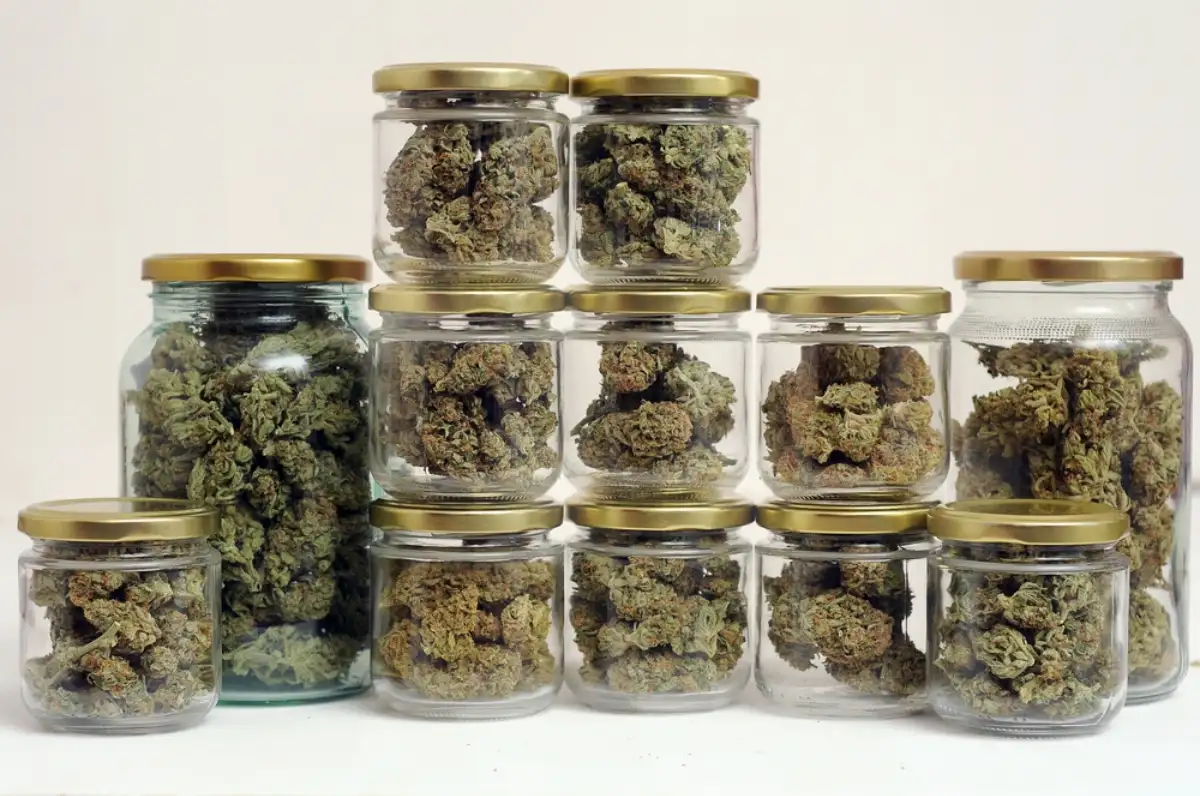
- Airtight Containers: Choose glass jars or other airtight containers that are large enough to hold your dried buds without overcrowding. Mason jars are a popular choice due to their ability to create an airtight seal.
- Hygrometer: Invest in a hygrometer to accurately measure the humidity levels inside the curing containers. This will help you maintain the optimal humidity range for curing.
- Boveda Packs or Humidity Control Devices: Consider using Boveda packs or other humidity control devices to maintain a steady humidity level inside the curing containers. These packs help to prevent moisture loss or excess humidity.
- Storage Labels: Use labels to mark and identify each curing container. This will help you keep track of different strains and ensure proper organization.
Curing Process: A Detailed Walkthrough
Now let’s explore the step-by-step process of curing cannabis:
- Prepare the Curing Containers: Ensure that your curing containers are clean and dry before use. Sanitize them if necessary to prevent the growth of mold or other contaminants.
- Transfer the Dried Buds: Gently transfer your dried buds into the curing containers, filling them up to about 75% of their capacity. Avoid compressing the buds too tightly.
- Monitor Humidity Levels: Place a hygrometer inside each curing container and monitor the humidity levels. Aim for a humidity range between 55% to 65% during the initial stage of curing.
- Burp the Containers: For the first week of curing, open the containers once or twice a day for a few minutes to allow fresh air to circulate. This helps to release excess moisture and replenish oxygen.
- Check and Adjust Humidity: Regularly check the humidity levels using the hygrometer. If the humidity is too high, remove the lid for a short period to release excess moisture. If it’s too low, add moisture by using a moistened cotton ball or a Boveda pack.
- Repeat the Process: Continue burping and monitoring the humidity levels for the first two to four weeks, gradually reducing the frequency of burping as the buds stabilize.
- Long-Term Curing: After the initial curing stage, you can choose to continue the curing process for several more weeks or even months. This extended curing period can further enhance the flavor and smoothness of your buds.
Properly cured cannabis requires patience and attention to detail. By following these steps and utilizing the necessary tools, you can achieve the highest quality cannabis with enhanced potency, flavor, and overall enjoyment. In the next section, we will discuss common mistakes to avoid during the drying and curing process, so let’s move forward!
Common Mistakes in Drying and Curing Cannabis
Drying and curing cannabis require precision and careful attention to detail. However, even with the best intentions, it’s easy to make mistakes that can compromise the quality of your buds. In this section, we will highlight some common mistakes to avoid during the drying and curing process to ensure that you achieve the best possible results.
Avoiding Overdrying or Underdrying
One of the most common mistakes in drying cannabis is overdrying or underdrying the buds. Overdrying can result in a harsh and unpleasant smoking experience, as it depletes the natural moisture and essential oils present in the plant. On the other hand, underdrying can lead to mold and mildew growth, compromising the quality and safety of your buds. To avoid these issues, it’s important to monitor the drying process closely and ensure that the buds are dried slowly and evenly.
Preventing Mold and Mildew During Curing
Another common mistake is failing to prevent the growth of mold and mildew during the curing process. This can occur if the buds are not adequately dried before being transferred to curing containers or if the humidity levels inside the containers are too high. To prevent mold and mildew, ensure that your buds are thoroughly dried before starting the curing process. Additionally, monitor the humidity levels inside the curing containers using a hygrometer and adjust as necessary to maintain the ideal range of 55% to 65%.
Understanding the Correct Storage Conditions
Improper storage conditions can also negatively impact the quality of your cured cannabis. Storing your buds in an environment with excessive humidity, heat, or exposure to light can lead to degradation of cannabinoids and terpenes, resulting in a loss of potency and flavor. To maintain the quality of your cured cannabis, store it in a cool, dark, and dry place. Consider using opaque airtight containers, such as glass jars, to protect your buds from light and air exposure.
By avoiding these common mistakes, you can ensure that your drying and curing processes yield high-quality cannabis with optimal potency, flavor, and overall enjoyment. However, the journey doesn’t end with drying and curing. In the next section, we will explore the importance of maintaining quality in long-term cannabis storage. Let’s dive in!
Maintaining Quality in Long-Term Cannabis Storage
Once your cannabis has been properly dried and cured, it’s important to maintain its quality during long-term storage. Whether you have a large harvest or want to preserve your favorite strains for future use, proper storage techniques are crucial to ensure that your cannabis retains its potency, flavor, and overall quality over an extended period of time. In this section, we will discuss the key factors to consider when storing cannabis for the long term.
The Role of Humidity and Temperature in Cannabis Storage
Humidity and temperature are two critical factors that can greatly influence the quality and shelf life of your stored cannabis. Excessive humidity can lead to mold and mildew growth, while overly dry conditions can cause the buds to become brittle and lose their potency. It is recommended to store cannabis in an environment with a relative humidity (RH) level of 58% to 62% and a temperature range of 60°F to 70°F (15°C to 21°C) to maintain optimal conditions for preserving potency and flavor.
Choosing the Right Storage Containers
Selecting the appropriate storage containers is essential for maintaining the quality of your cannabis. Here are some important considerations:
- Airtight and Opaque: Choose containers that are airtight to prevent the exchange of air and moisture. Opaque containers, such as glass jars or metal tins, protect your cannabis from exposure to light, which can degrade cannabinoids and terpenes.
- Size and Capacity: Use containers that are appropriately sized to hold your cannabis without excessive empty space. This helps to minimize air exposure and maintain consistent humidity levels.
- Avoid Plastic Bags: While plastic bags may seem convenient, they can promote moisture retention and create an environment conducive to mold growth. It’s best to avoid using plastic bags for long-term storage.
Tips for Long-Term Cannabis Preservation
To maximize the longevity and quality of your stored cannabis, consider these additional tips:
- Handle with Clean Hands: Always handle your cannabis with clean hands or gloves to prevent the transfer of contaminants or oils that can affect the flavor and aroma.
- Avoid Light Exposure: Store your cannabis in a dark place, away from direct sunlight or strong artificial light sources. Light can degrade cannabinoids and terpenes over time.
- Minimize Air Exposure: Whenever you access your stored cannabis, avoid leaving the container open for extended periods. Briefly open the container and close it promptly to minimize air exposure.
- Avoid Temperature Fluctuations: Keep your cannabis away from areas with temperature fluctuations, such as near heaters, ovens, or windows. Stable temperatures help preserve potency and flavor.
By following these storage guidelines, you can ensure that your cannabis remains fresh, potent, and flavorful for an extended period. Remember to check your stored cannabis periodically to monitor humidity levels and make any necessary adjustments. With proper storage, you can enjoy the fruits of your labor long after harvest.